
One of the UK’s first AUTHORIZED STARLINK™ INSTALLERS.
As Starlink becomes more accessible to people in the UK, particularly those in rural and remote areas, one critical aspect remains at the forefront of the user experience: optimal dish placement.
Here’s a deeper look into why the orientation of Starlink’s dish is vital and how UK users can maximise their connectivity.
Starlink utilises a constellation of low Earth orbit (LEO) satellites that provide internet coverage across the Earth’s surface. These satellites are much closer to the ground than traditional geostationary satellites, reducing latency and increasing data transmission speed. However, the technology requires careful consideration regarding the placement and orientation of its user dishes.

Elon Musk also recently said that dish alignment is becoming less important as the amount of satellites continues to increase. Meaning there is a higher likelihood of picking up a good signal, no matter what the alignment is.
The key to optimal Starlink dish placement lies in understanding the satellite paths relative to their geographic location.
The dishes do not connect to a stationary satellite but rather to one that moves across the sky. Consequently, users need to ensure their Starlink dish has a clear view of the northern sky.
Here’s why: the satellites generally move from west to east, but given the UK’s position in the Northern Hemisphere and the satellites’ orbits, they appear more prominently in the northern part of the sky.
Obstructions such as tall buildings, trees, or other structures can impede the signal, making it crucial to find a spot with an unobstructed view.
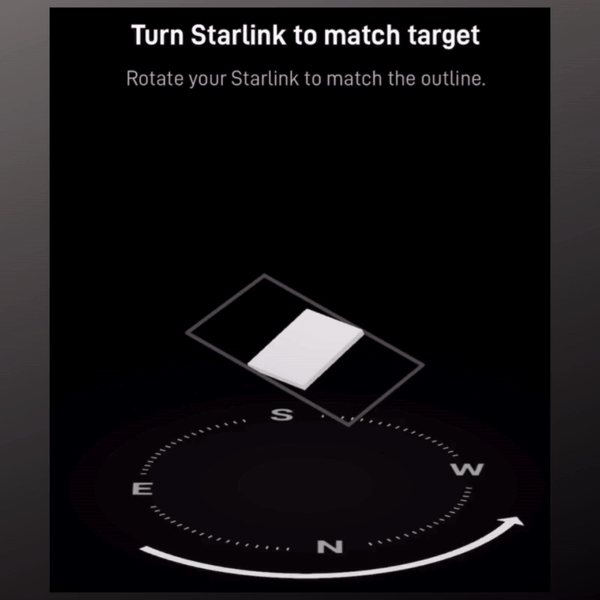
REMEMBER: Every location is different and please use the dish alignment tool within the Starlink App to correctly align your dish. Not every location will need the dish pointing north.
While facing true north is generally recommended for optimal connectivity, users may discover that slight variations from a direct northern orientation can still yield excellent results. This is especially true if such adjustments assist in avoiding obstacles that might otherwise hinder signal strength.
It’s also worth noting that the kind of dish matters. Here’s why:
Equipped with a motorised positioning system which allows the dish to automatically adjust its orientation to optimise signal reception as the satellites move across the sky.
This feature greatly simplifies the setup process for users, as the dish actively seeks out the best signal without manual adjustment.
The latest generation introduces enhancements that demand precise installation and correctly pointing the dish in the right direction.
Unlike their predecessors, this does not feature a motorised system to seek out the best satellite positions automatically.
Instead, they require a manual setup where the initial direction and angle are pivotal in connectivity and performance.
The absence of automated positioning underscores the importance of a clear and unobstructed view of the sky in the optimal direction as determined during the installation process.
These distinctions highlight SpaceX’s ongoing innovation in satellite technology. While Gen 3 dishes demand more meticulous setup efforts, they are designed to work efficiently within the constantly expanding and improving Starlink satellite constellation.
For those considering or already using Starlink in the UK, the correct installation and orientation of the satellite dish are paramount.
By optimising its orientation towards the northern sky and ensuring an unobstructed line of sight, users can fully utilise the potential of this cutting-edge technology.
As Starlink’s development progresses, it carries the promise of transforming internet connectivity across the United Kingdom, providing reliable access even in remote and isolated areas.