One of the UK’s first AUTHORIZED STARLINK™ INSTALLERS.
Are you fed up with unreliable internet connections that leave you lagging? Do limited service providers mean that your home is excluded from modern connectivity? It’s time to look skyward and find the answer with Starlink Satellite Internet. This revolutionary technology has been designed by SpaceX to—quite literally—deliver the world wide web into even the most remote communities. Read on for our guide on how to install Starlink satellite internet at home, so you can enjoy a fast, dependable connection like never before!

Heavens above! Quite literally, the future of home connectivity is about to be transformed, as the formidable Starlink satellite internet is soaring into our lives. Fear not, dear reader, disruption to your daily browsing sessions shall become a thing of the past. Thanks to the ingenious creations from our friends at SpaceX, thousands of satellites are being launched into orbit, casting their benevolent and bandwidth-boosting gaze upon our humble abodes. Gone are the days of tearing one’s hair out over sluggish connections, for Starlink promises magnificent speeds that vow to overcome even the most obstinate rural locations. Jolly good show, Elon and friends!
Rejoice, as you shall soon skirmish with virtual foes on a seamless battlefield or, perhaps, delight in high-quality streaming of your favourite programmes, knowing that the future of home connectivity is quite literally written in the stars.

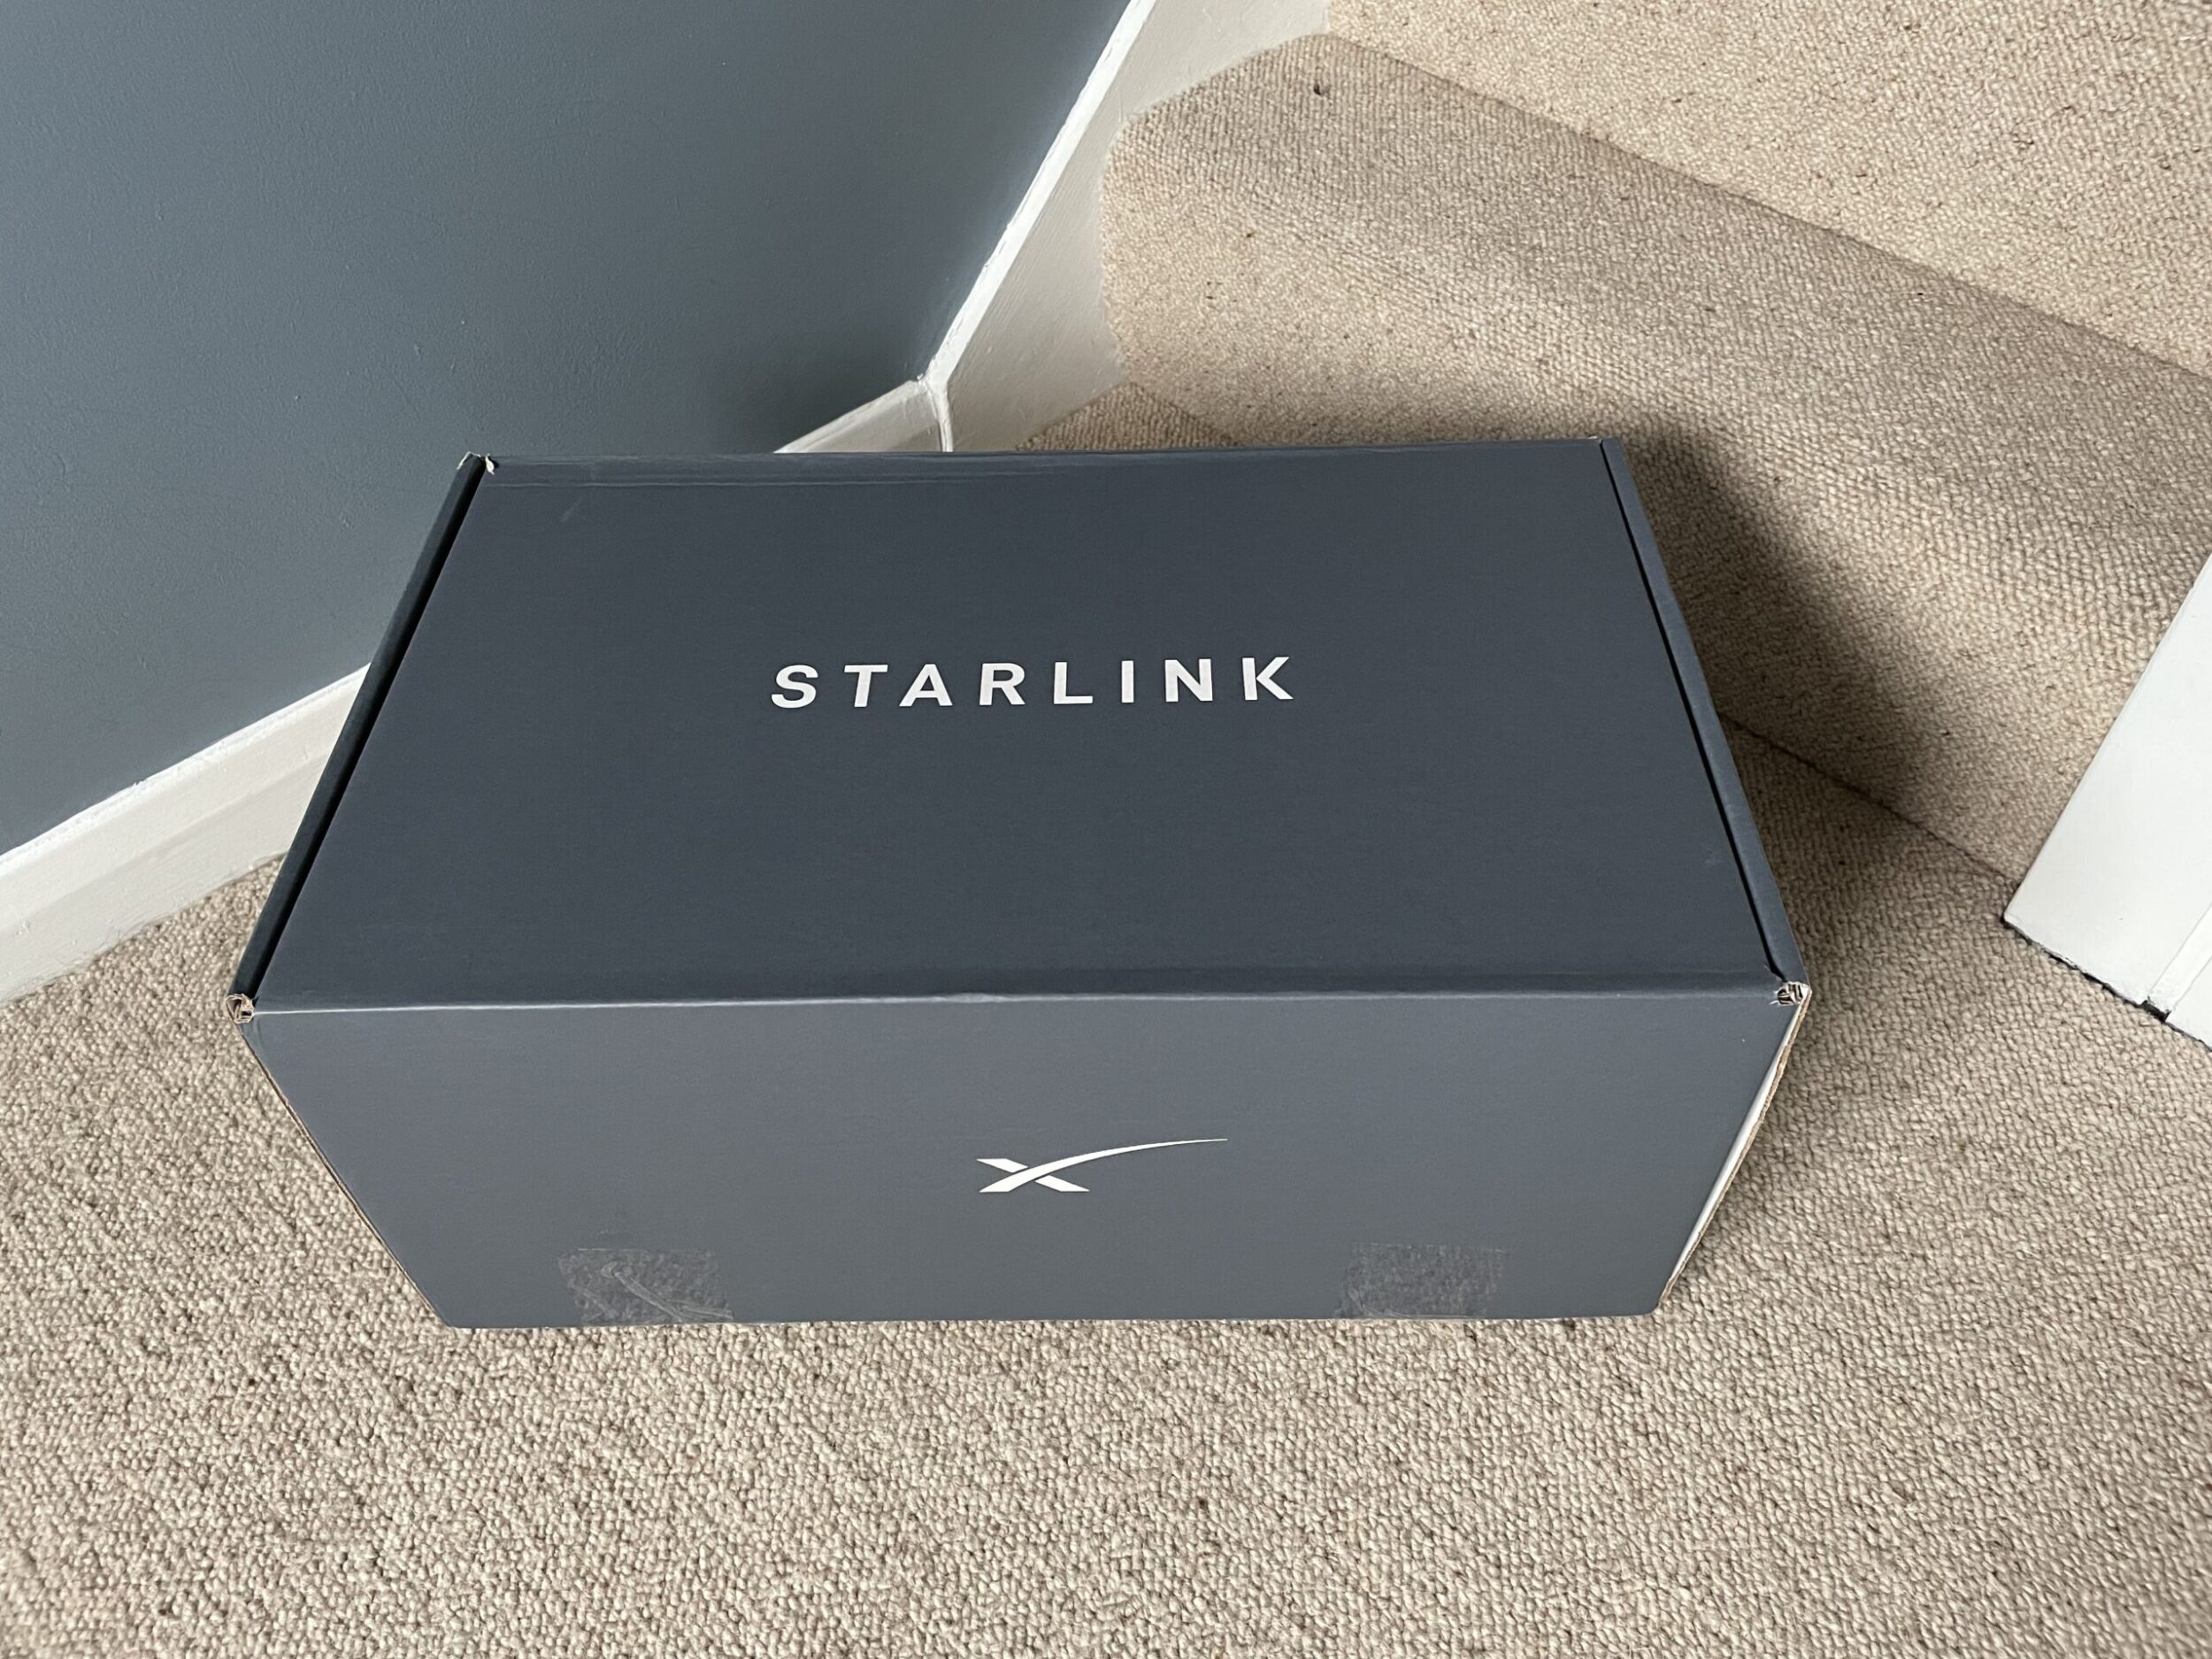
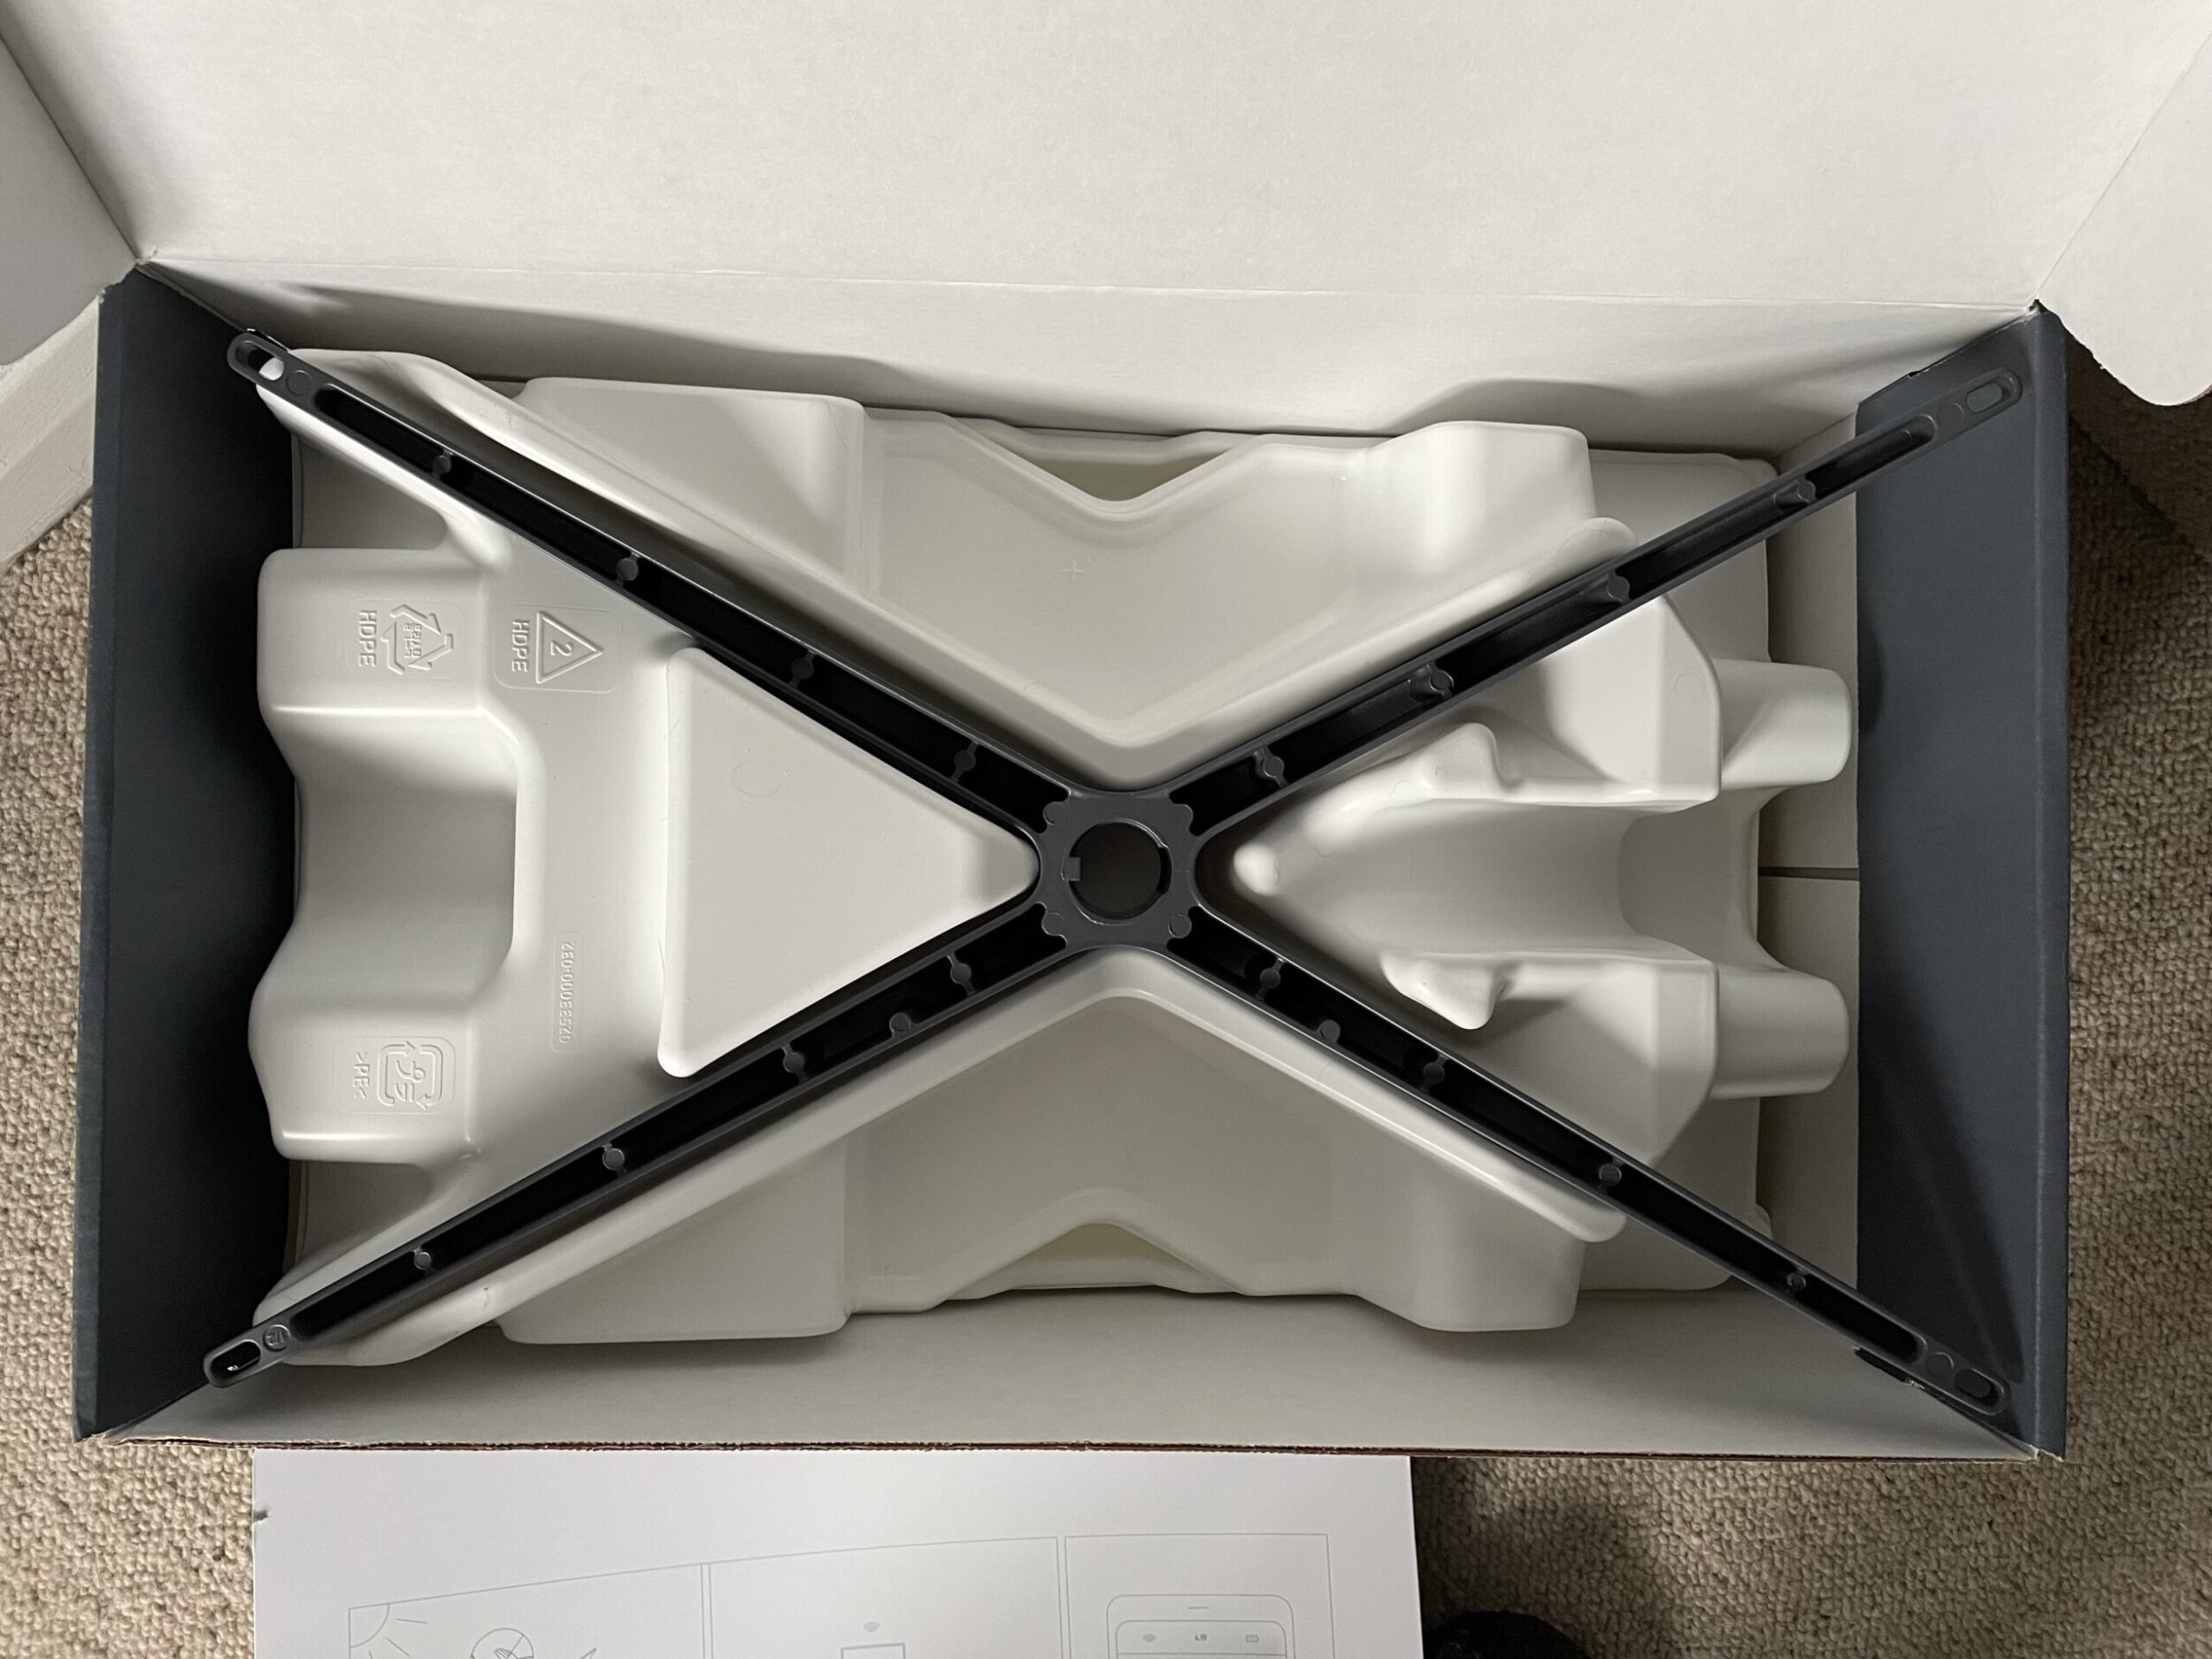
First and foremost, you’d require an official Starlink Kit that comprises of a Starlink dish antenna, a router, and a clever little mounting device for the dish. Once you’ve secured those essential items, ensure you’ve got a lovely open space with a clear view of the sky, you know, away from too many trees and buildings – the dish adores gazing at the heavens, rather like a poet, I dare say!
Depending on your type of install, you may also need:
And that, dear chums, is all you need to embark on your wonderful journey to high-speed internet connectivity sponsored by the cosmos.
So, how long would it take to get these advanced, otherworldly gadgets working at your home, you ask? As swift as a cup of tea, I dare say!
Indeed, installation for the Starlink system can be accomplished with relative ease – if you’re just looking to plug and go. Those of us who are lucky enough to live out in the beautiful British countryside may have a spot of land that is large enough to have an unobstructed view of the sky, therefore, if you are so lucky, you can get Starlink working relatively quickly.
However, not all of us are this fortunate and instead have to look at mounting our Starlink dish on a roof…or tree, pole… lighthouse (we’ve seen it all).
Oh, dearie me! No need to fret, old chap, as I’m here to share some spiffing troubleshooting tips to ensure your installation is smooth sailing!
Firstly, find the ideal location for that shiny satellite dish of yours – somewhere with an unobstructed view of the sky, free from tall trees or buildings, as they can be quite a nuisance.
Now, don’t dilly-dally with weak connections, inspect every cable and connector to be certain they’re firmly seated, as loose connections are just ghastly! While you’re at it, ensure your router and devices are up-to-date with the latest firmware, as that will help keep everything running smoothly. And if all else fails, never shy away from seeking assistance from the Starlink customer support chaps, they’re quite delightful and ever so eager to help.
Ah, the wonders of modern technology! Have you ever pondered upon the marvels of Starlink Satellite Internet? It’s an ingenious invention that promises to revolutionise the way we access the digital world. You see, with its vast network of satellites orbiting the planet, Starlink brings high-speed internet connectivity to the most remote corners of our globe. It’s a blooming boon for those in rural areas who have been desperately dealing with poor internet connection for! (As well as those “dead zone” areas that no one can really explain). No longer shall you experience frustrating buffering moments whilst streaming your favourite programmes or lamenting over dodgy connections when hopping on an important video call. So, my dear friend, do consider gifting yourself the luxury of a Starlink Satellite Internet installation – it’s an investment worth making in our increasingly digital age.
Installing Starlink Satellite Internet is not just a great way to access the internet no matter where you live, it’s also an excellent choice due to it being at the forefront of the revolutionary ways in which we connect to the web. With low latency and relatively high speeds, Starlink makes a great choice for connecting households in even the remotest of locations. Taking the time to understand how to install the system is important before jumping into the process. Doing some research can ensure that you’re doing everything properly so as not to have any issues with your installation. All in all, installing Starlink Satellite Internet can be incredibly rewarding and empowering for people who are looking for a more efficient and affordable way to stay connected and you can always call for help with professional Starlink Installation Services in the UK. So what are you waiting for? Get online with Starlink today and call Spacelink Installations to get you up and running!

Let's get you online!
Fill in your details and we'll be in touch shortly.

Please fill in your details
Head Office:
11 Old Steine, Brighton, BN1 1EJ

© 2025 All Rights Reserved.